Sunday, September 19, 2010

BRIOCHE

Haven't made brioche for years, and today being a bit of a flat indoor type of a day, thought I'd
marshall the troops (i.e. the Kids) and we would have a go and see what transpired.


INGREDIENTS

700 Gms Bakers Flour
60 Gms Granulated Sugar
10 Gms Salt
35 Gms Dried Yeast
45 Gms Milk Powder
100 Mls Water (37 C)
300 Gms Eggs
300 Gms Butter

Sieve dry ingredients together.
Lightly beat eggs, add warm water, and then stir in yeast.
Make a well in the centre of the dry ingredients and pour
in the egg and yeast mixture.
Gradually incorporate the flour to form a dough and then knead until
smooth and clear.
Set aside and allow to double in size,
Knock the dough back and then start to incorporate the
softened butter, mixing until clear. (Lightly dusting the dough
with flour occaisonally will assist in incorporating the butter)
Allow to relax for approx 20 minutes and then portion and form
into desired rolls, scrolls, or loaves etc.
Allow to prove until doubled in size.
Bake at 230C (conventional oven) or 210C (fan forced)
until golden brown.

(In my oven which I think is on the hot side the little rolls took 18
minutes and the loaf took approx 30 minutes.)


 In the scheme of things this is not a cheap recipe,
(for home cooked), but the flavour and texture
 is excellent, rich and buttery.
Toasted or plain, spread with a little butter and
some good quality conserve or jam it is simply
delicious.
You can take my word for that or better still,
why not give it a go and see for yourself.
Bon Apetit!! and good cooking.


Monday, September 13, 2010

ROTI STYLE BREAD

Roti is something I have never attempted in my years of cooking. I have always taken the easy, or lazy, way out and simply bought it when needed. Anyway, I saw it on a cooking show recently and decided to have a go having been motivated by the price of this stuff in the shops lately.

So here is my first attempt. I tried two different ways to stretch the dough--one by flipping/whipping the dough and the other by flattening and massaging the dough into a large rectangle, the latter giving the better results.

RECIPE
500 gms plain flour ( the softer the better )
40 gms butter
2 teaspoons salt
1 teaspoon sugar
1 egg
1 cup water
Vegetable oil

Sieve flour, salt and sugar together.
Rub the butter into the flour mixture.
Lightly beat the egg and pour into a well in the flour mixture and gently work
in with your fingertips.
Make a well in the centre and add the water and then work to a dough, and then
knead for about 5 minutes until smooth. If your dough seems to wet or sticky you can
knead in extra flour until you achieve a smooth consistency.
Divide the dough into approx 12--14 pieces and form into balls. Place in a bowl, cover with oil
and set aside for approx 4--6 hours.

Take a piece of dough and gently pat out to a rectangular shape
and continue to massage the dough to a larger and larger rectangle,
(You will be surprised how far you can stretch this dough),
until almost paper thin and see through.
Then start to loosely roll the dough into a long cylinder.
Pick the dough up from one end and coil into a snail shape.
 Repeat process until all balls of dough are coiled.


Heat a little oil in a pan, gently flatten the coils to approx 3 times the size
taking care not to knock out all of the air, and place in pan.
When golden brown on one side, turn and brush the cooked side
with some melted butter or margarine and continue to fry until golden
 brown on the other side.
Remove from the pan, place on your bench and cup your
hands around the cooked roti.
Now quickly slap your hands together and quickly release.
Rotate the Roti and repeat and viola , there you have it, golden
flaky Roti Bread at a fraction of the price.


Wednesday, August 4, 2010

Tonights Dessert in the Burntgravy House

Chocolate Cherry Gateau

This is a cake based on a Blackforest Cake recipe from Masterchef Australia,
so I cannot take credit for the recipe, although I did modify it slightly by adding
50 gms of melted butter to the sponge mix. I also left out the hazelnut praline
and only constructed 3 layers as it makes the cake more managable in my opinion.
I call it a Chocolate Cherry Gateau, as there was some spirited debate on the Masterchef
Forums as to whether or not it was a traditional Blackforest Cake.
I side with the opinion that it is not.

The full recipe can be found at http://www.masterchef.com.au/black-forest-cake.htm

 Recipe

Chocolate Sponge
7 Large Eggs (59 Gms ea Approx)
250 Gms Caster Sugar
200 Gms Plain Flour
50 Gms Cocoa Powder
2 Teaspoons Baking Powder
1 Teaspoon Vanilla Essence
50 Gms melted butter (optional)

Sift flour, cocoa powder and baking powder together twice.
In the bowl of an electric mixer whisk together eggs, caster sugar and vanilla.
Place over a pot of simmering water and continue to whisk unti mixture reaches 37C.
Continue to whisk using the electric mixer on medium speed until the mix has cooled and attains a thick
mousse like consistency.
Fold sifted dry ingredients into the egg mixture in three lots and lastly fold in melted butter.
The mix will lose some of it's volume during the folding process (approx 1/3rd).
Divide mix evenly between two 20 cm greased and lined cake tins.
Bake for approx 20 -- 25 minutes at 160C in a fan forced oven.
The cakes are cooked when the sponge springs back when lightly touched.
Allow to rest in the tins for 10 minutes and then turn onto wire racks and allow to cool fully.

(You can fill this cake however you desire
Suggested fillings can be found at the link to Masterchef,
They are not difficult to make.
I made a full quantity of mousse and a half quantity of Mascapone cream
and used one 425 gm can of dark pitted cherries for my cake.)

Make a simple syrup with the juice from the cherries.
Slice the cakes into as many rounds as you require ( my version requires 4 rounds
So I have some cake in the freezer for another day)
Place one round on platter and brush liberally with cherry syrup. Spread on half of the mousse
and place another layer of cake on top. Spread again with cherry syrup and then evenly spread on
mascapone cream and scatter on the drained cherries.
Place a third layer of cake on top and again spread with cherry syrup and then evenly spread on the
remaining mousse.
Place on a fourth layer of cake ( here might I suggest using the base of one of the cakes, inverted,
as you will get a smooth surface for the top of your cake) and spread with remaining cherry syrup.
Gently pour on chocolate ganache until it coats the top of the cake and just starts to drip over the sides.
Decorate as desired and Bon Apetit.

P.S. You will most likely have some choccy ganache left over for which you should be able to find
plenty of decadent uses---Ahhh!! such is life--enjoy.

Saturday, July 31, 2010

Monday, July 26, 2010

Fruits of My Weekend Labour


Salted Caramel Ganache & Chocolate Mousse Tart


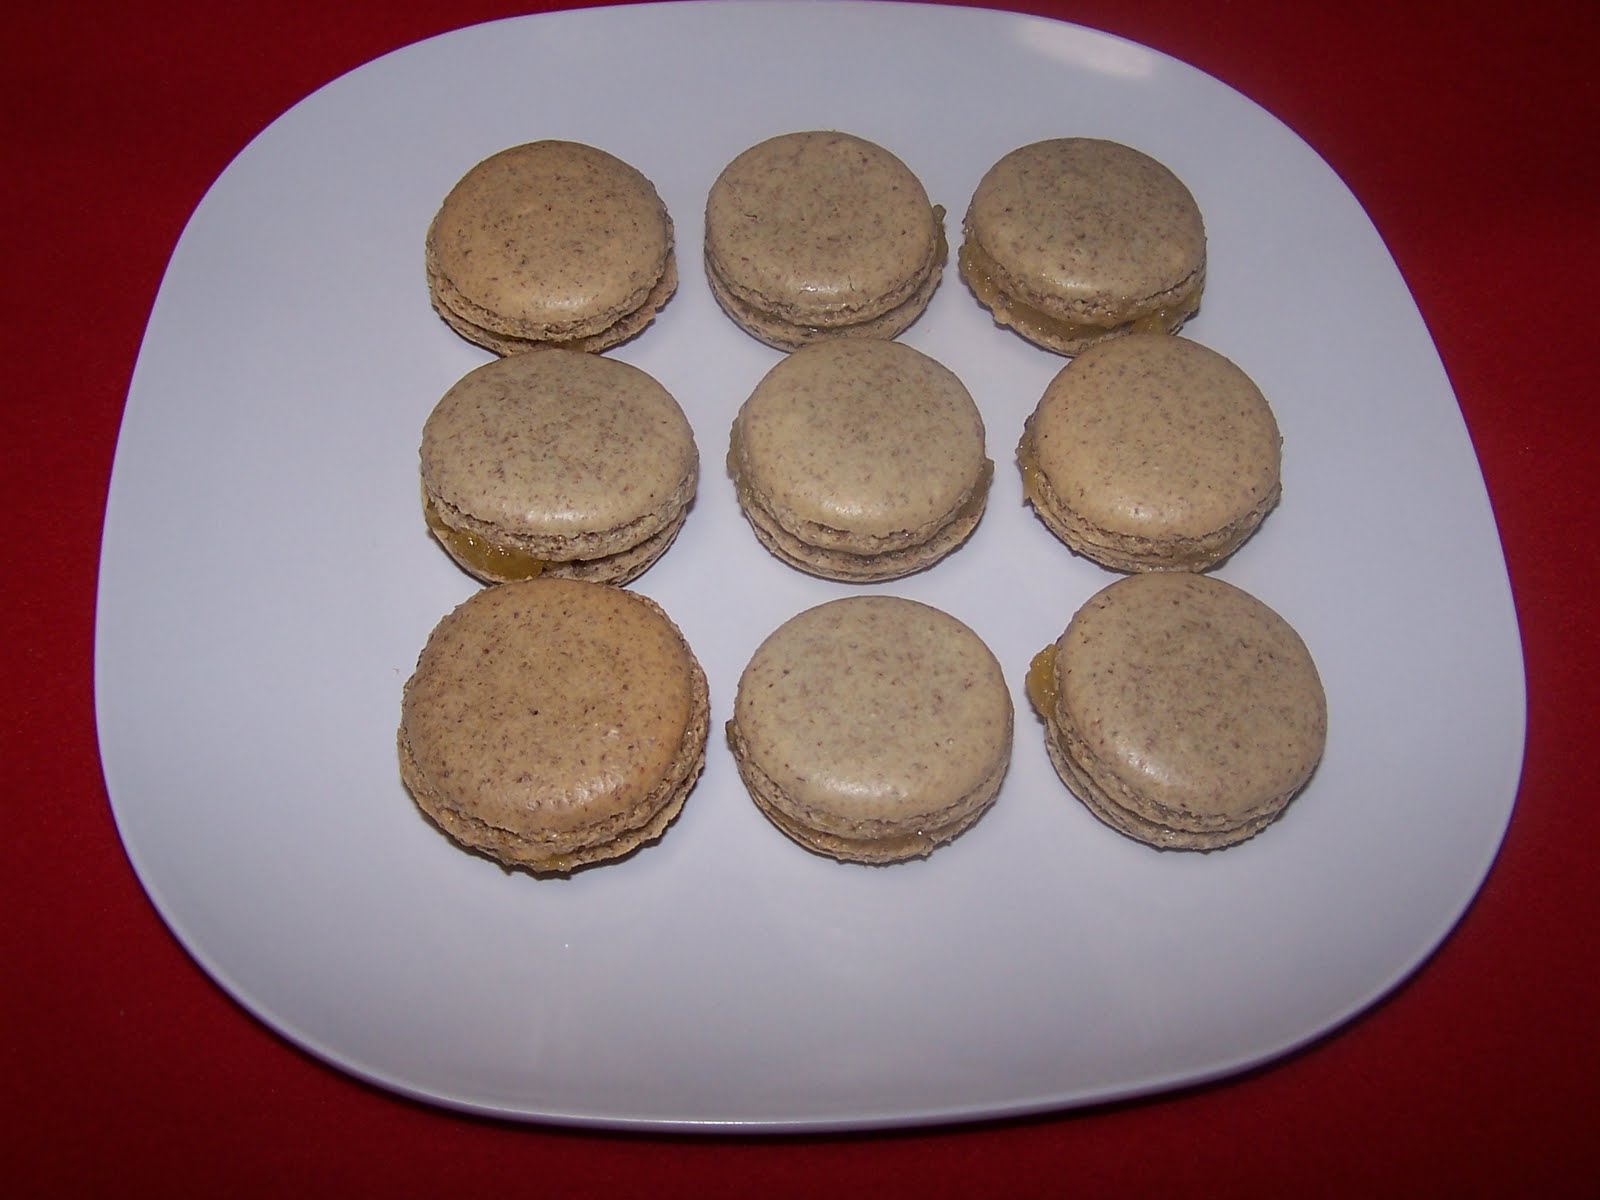
Almondless Macaroon with Dried Apricot Jelly


Raspberry & White Chocolate Ganache Macaroons

Almondless "Macaroons"

I made these macaroons today using a blend of Linseed,
Pepitas and sunflower kernals all finely ground and sifted together with the
pure icing sugar 4 times. I also used 3 day+ old eggwhites
and the results are surprisingly good.

RECIPE
173 Gms pure icing sugar
100 Gms ground meal
81 Gms egg whites
45 Gms caster sugar

Sift Icing sugar and ground linseed mixture 4 times to remove any lumps etc.
In an electric mixer beat eggwhites to soft peak and then rain in caster sugar
and continue beating until glossy and at stiff peak.
Sprinkle sifted mixture onto the meringue and fold vigoursly to fully incorporate
together. The mix should be smooth and glossy with no lumps.
Allow to rest for 15 minutes and then pipe to desired size on a baking tray
lined with greaseproof paper (Lightly greased)
Allow to rest for approx 30 minutes to form a crust (This may take longer
depending on conditions and warmth of kitchen--be patient)
Place tray in oven at 180C, close door and reduce temp to 120C.
Bake for 20 Minutes.
Remove from oven, allow to rest for a few minutes and carefully remove from tray
to cooling rack.
Fill as desired.
Good Luck.

Wednesday, July 21, 2010

My Current Project

I have at the moment been drawn to the fascination for macaroons and all of the various flavours that seem to be floating about.
I have had success with chocolate macaroons following a recipe posted by Emmanuel Mollois, very easy, but you must follow his directions and above all have patience.
I have adapted the recipe to use hazelnuts, with some success but it still needs refinement.
My last flavour was raspberry and white chocolate ganache sandwiched between pink coloured macaroons.
I have some left over eggwhites, so am proposing to have some more fun with them on my next day off.
I already have some leftover salted caramel ganache from another project and am also thinking along the lines of white chocolate ganache flavoured with Ketchup or good old heinz tomato sauce.
Will post the outcome, hopefully with pics.